

I have been asked a lot of questions, And I thought it would be nice to share a little of those questions with EVERYONE and make this a learning experience for all. I HIGHLY believe in giving back. I have learned so much from other photographers and if I can help anyone else it would give me great happiness.
alright well first of all I do not have a studio and all of my photos are done with natural light. even the "in studio" looking photos. I would love studio lighting, but I do not have it, and currently do not have a place to do it. As most photographers who are starting out. Also I wanted to say that so you will have the guts to try this out even if you are in your living room.
So what is the secret? is there one? no not really, most of it is just basic camera mumbo jumbo...so here it goes.
Metering is the tool that gets this done. When you look through your cameras view finder you will see the little lines that go from left to right? that is your in camera light meter. It is a fantastic tool that every photographer NEEDS to use. If you have a hand held meter you may use that as well. There are a lot of metering modes. I usually use spot metering as it gives me the ability to pick what I want to meter.
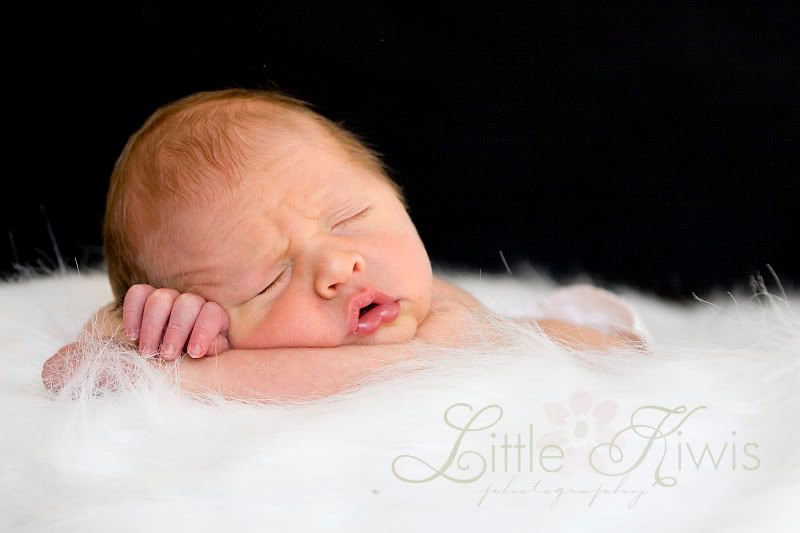
I do all this in manual. I highly encourage you to shoot in manual. To meter for a black back ground you should get in close and meter off of the baby (or persons) skin. set your shutter speed, ISO, and aperture so that your line is in the middle. {In a Canon} to far left and you are underexposed, to far right and you are overexposed I think Nikon is the exact opposite. Back up focus and shoot. Ignoring what your meter is saying now because it will change and go crazy.
Now what a bout the black ground? I have used many things... mostly black cotton jersey sheets that have been thumb tacked to the wall!! (I know classy right) I did build a wood frame (well actually Dear hubby did) that I wrapped black fleece like fabric I got at walmart and that worked Awesome, as it never had wrinkles and was portable. If you are doing natural light it is best to set up in a room with good non direct sunlight. Closer to that window or door is best for directional light.
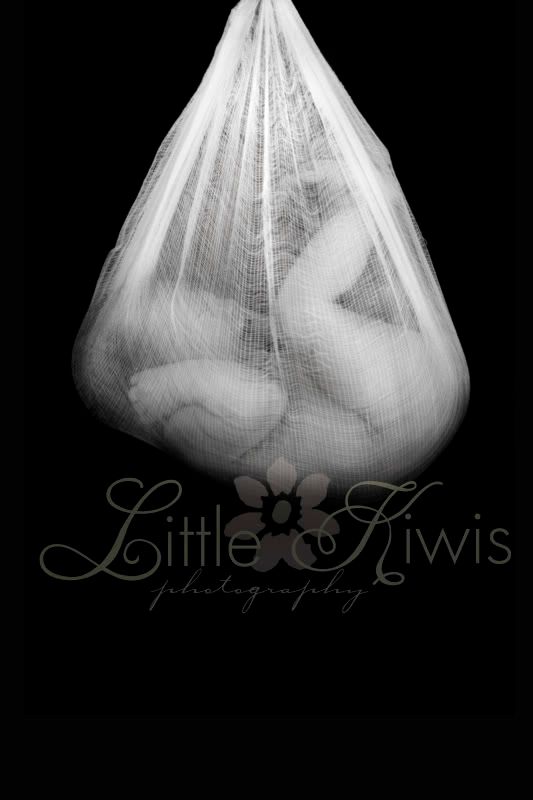
Of course photo shop is a huge help in this area as well. sometimes in the black pictures, it's just not ALL black and if you do any kind of cropping or clipping or enlarging of the black areas there may be lighter areas that you may not see on your screen, but will show up in printing. I usually do a layer mask and darken the back ground and then mask and erase the areas I want black.
Alright so grab your kids or anyone who is willing to sit still for a few moments. (even if it is just a baby doll) and try this out! GOOD LUCK and Let me know if this was helpful to anyone as this is my first true attempt at trying to explain things like this at all.
Luv, Keri
Thanks! I would of never thought of a portable black background. And the tip to meter close to your intended subject is one I'm going to try.
ReplyDeleteThis is great, I can't wait to try it. Any idea what the settings for ISO, shutter and aperture for a Nikon D70 would be? I am a definite amateur Thanks so much for sharing.
ReplyDeleteThe settings all depend on your lighting situatuion, I usually like to Have an ISO of 100 becuse they are crisper images, but I am usually forced to go higher due to indoor lighting. With that said...to steady your image and not have camera shake you want your shutter speed to be around 100 you can go as low as 60 but that gets a little iffy. Which means with the lighting situation sometimes you have no choice but to use a higher ISO or tripod and lower shutter speed. And deffinately 2.8 or lower will let in the most light. Is this making any sense? I would recomend reading some books on exposure. Or taking some classes at your community college.
ReplyDeleteJust play around with your settings change them and take the pics and view them to see what settings get what result in your lighting situation. It is a great learning experiment.
I have a black sheet in my box of trick , not that I use it much but I once used it out doors in full sunlight to get rid of a distracting background and it was fabulous.
ReplyDeleteJudging by your photos I wouldn't waste your money on studio lights. I had a friend give an old set to me and they are a pain to set up but have come in handy I must say.
Thanks for the tutorial on spot metering...very helpful! Great pictures!
ReplyDeleteKeri, that's is indeed VERY useful. I'll try that (and blog about it) and of course... give you the credits!
ReplyDelete